Title here
Summary here
The default access to the Remote Desktops is through the web browser using noVNC. However, you can also access the Remote Desktops using a VNC client.
In order to interact with Kubernetes you need the kubectl executable in your path. In most of the distributions you just need to install kubectl. You will also need a certificate to access the cluster.
Once the above is configured, start your Jupyter server as usual using the web interface. Then in your terminal, make sure you can access it and it is running (in this case the username is demo, substitute it with your own username):
kubectl  get pod -n jupyter-demo
NAME                            READY   STATUS    RESTARTS   AGE
j-default-demo-jupyter          1/1     Running   0          159m
The name of the Jupyter pod in this case is j-default-demo-active-2dlark and it is in Running state. The next is to forward the port 5901 from the Jupyter pod to the local machine. We can do this with:
kubectl port-forward pod/j-default-demo-jupyter -n jupyter-demo 5901:5901
Forwarding from 127.0.0.1:5901 -> 5901
Forwarding from [::1]:5901 -> 5901Launch your VNC client (in this example TurboVNC) and use http://localhost:5901 as the VNC server.
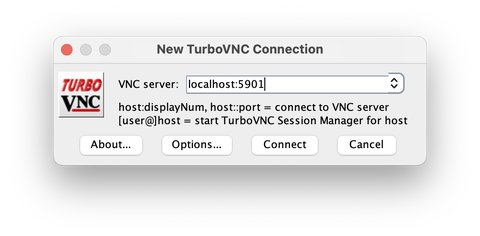
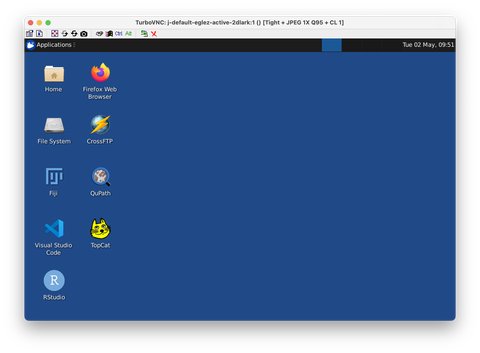
The click connect. If your connection is successful you will now be able to view and interact with your remote desktop.
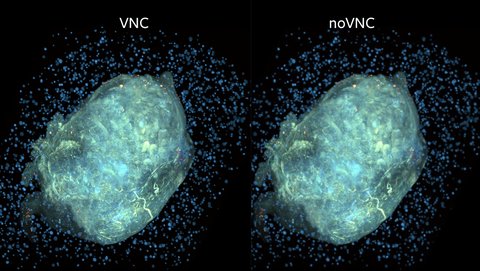
VNC is a native application and noVNC is a web application. The main different is that noVNC is slower than VNC and the graphics are not as good.
The image below shows the different graphics quality when visualizing a sample in Napari between VNC (left) and noVNC (right).